Variable Definitions
Welcome to our first lesson in PowerCLI. Today we’ll be getting our hands on the second most-used thing after commandlets, and these are variables. You will be using them to temporarily store information that you will either use as an input for your subsequent commands (or store commands themselves!), or save them to a text file, maybe even a report.
The variables are always initialized, called, and saved with a dollar sign preceeding a string of your choice. For example $a, $var1, $myvariable, $esxihost etc.
Feeding a value to a variable is pretty straight forward – it is done with an equal sign.
$var1 = 9001
Now, a variable can contain more than just numbers and strings, for example objects, arrays, imported CSVs and hashtables. You can also force a certain data type to be used in your variable.
Variable Definition Code Examples
Since this is a first lesson, I’d like to say that commenting your code properly and clearly is the very fundamental thing to do. This helps you orient in the code, and if you decide to share it – provide some insight for other people who might be using or analyzing your scripts.
Commenting a single line is done via hashtag # and commenting multiple lines of code is used by closing the hashtags in less/greater than signs like this: <# #>
With all of the above, let me show you how variables are defined:
# Let's start with a simple string
$string1 = "Hello World!"
# And then writing your first Hello World to the console.
Write-Host $string1
# You can also force a variable type for your arrays
# Find more info on data types here: http://ss64.com/ps/syntax-datatypes.html
[boolean]$istrue = false
[int]$volume = 5000
# This is a definition an empty array...
$arr1 = @()
# ...and a hashtable
$hash1 = @{}
<# Now, a single variable can contian many things,
like objects and commands. The below stores an
array of objects - all ESXi hosts inside a vCenter#>
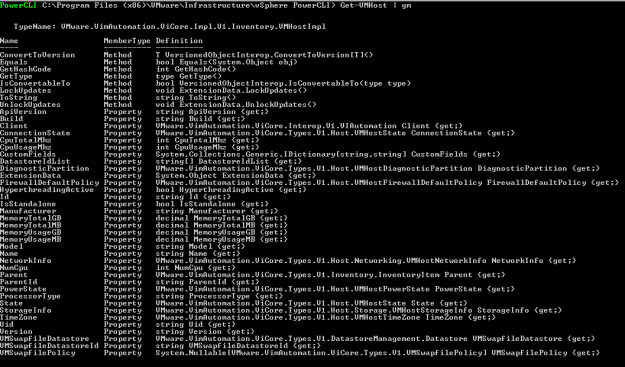
$vmhosts = Get-VMHost
$csv1 = Import-CSV .\myreport.csv
# You can store a command and then subsequently run it with invoke-expression!
$mycommand = "Get-VM"
Invoke-Expression $mycommand
Arrays
Now that you know how to define variables, let’s take a look at Arrays. Hashtables will be covered in one of future sessions, they are quite advanced and I’d like to maintain a coherent way of showing you around.
Arrays are pretty self-explanatory -you can store variables and even objects inside them. One important thing to remember is, that if you have filled an array with objects via a command, you can not prune (remove objects from) the array manually. All the objects need to be explicitly defined by a filter when you push them into an array (we shall look at that in the next session), or you can create an empty array and then push your objects there.
After you store data in an array, you an list it – as you can do with all variables – by simply entering its variable name into the powershell prompt.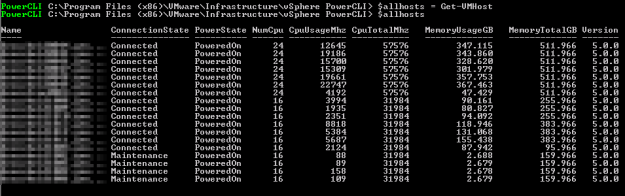
Arrays are indexed with brackets [], starting from 0. So you can see ther “0th” entry like this:
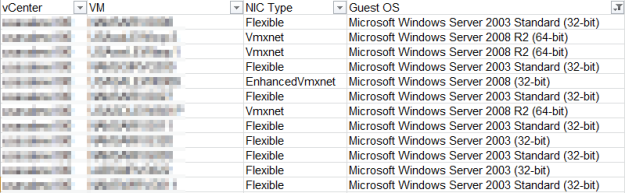
The individual members of the whole array can also be listed, so as you were shown in the first lesson, using the Get-Member, or gm command in a pipe (pipes will be a subject of our next session). You can also fill an array with a CSV file if you have more parameters you wish to extract from your array (which will become handy later)
This is for just a short overview of the arrays – you will get much more familiar with them in a more hands-on approach. See you around!